💾 Create a shared backup plan
Who can do this: Any member for their own teams. Owners and Managers can create plans for any team.
A shared backup plan holds the data several people need, guarded by the rules you choose. Any member can create one for their own teams; Owners and Managers can create plans for any team.
Start the plan
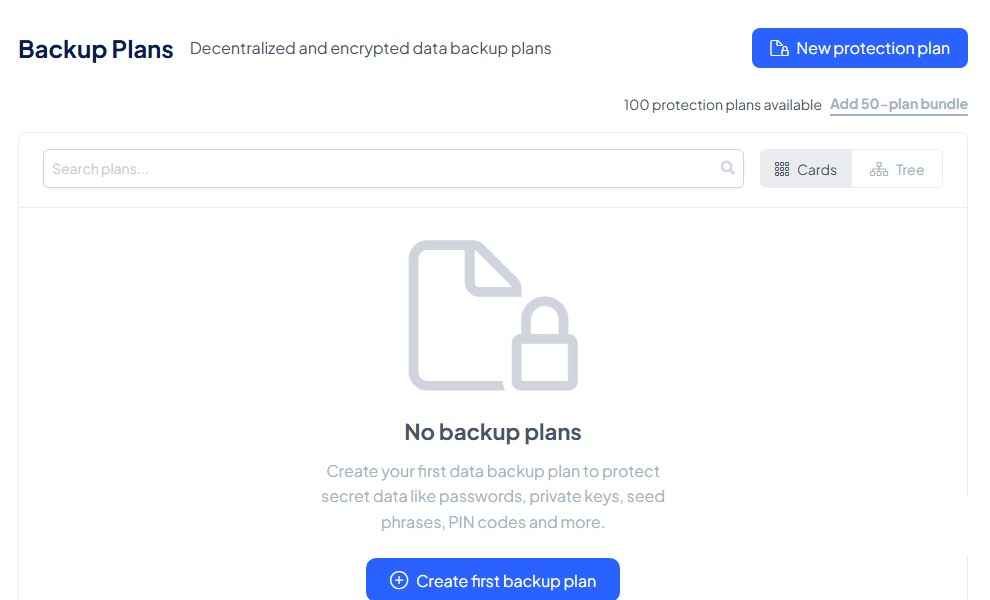
Go to Data Backup and select New protection plan. The wizard has six steps, and a Plan overview panel follows you through all of them, always showing what you have configured so far.
Step 1: plan setup
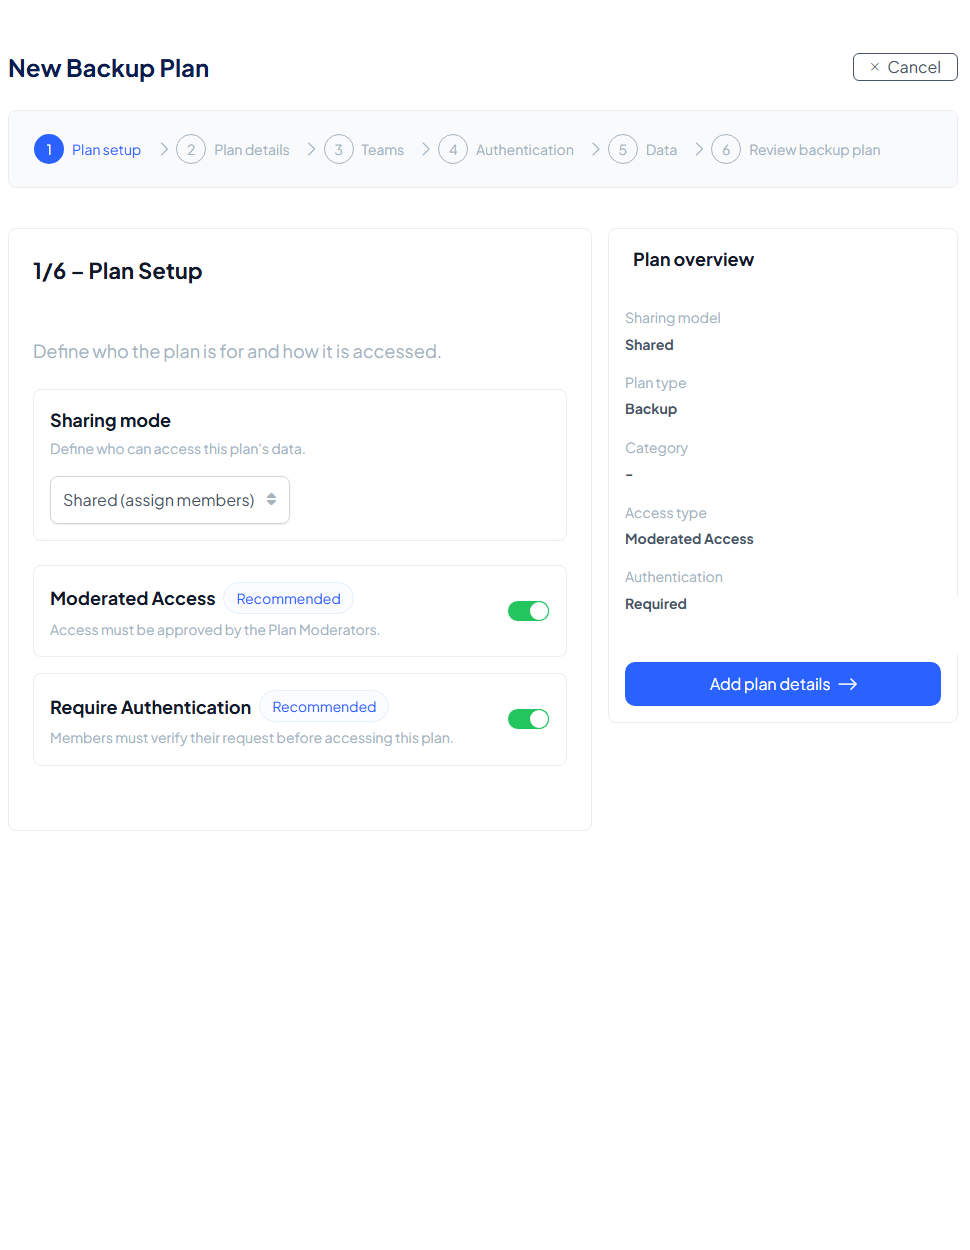
Define who the plan is for and how it is accessed.
- Sharing mode: keep Shared (assign members) for a shared plan. (Private (only you) appears here too when your organisation allows private plans.)
- Moderated Access (recommended): every access request must be approved by the plan's moderators.
- Require Authentication (recommended): members verify their request before accessing the plan.
Together these are the plan's properties; a plan always keeps at least one of the two gates.
Step 2: plan details
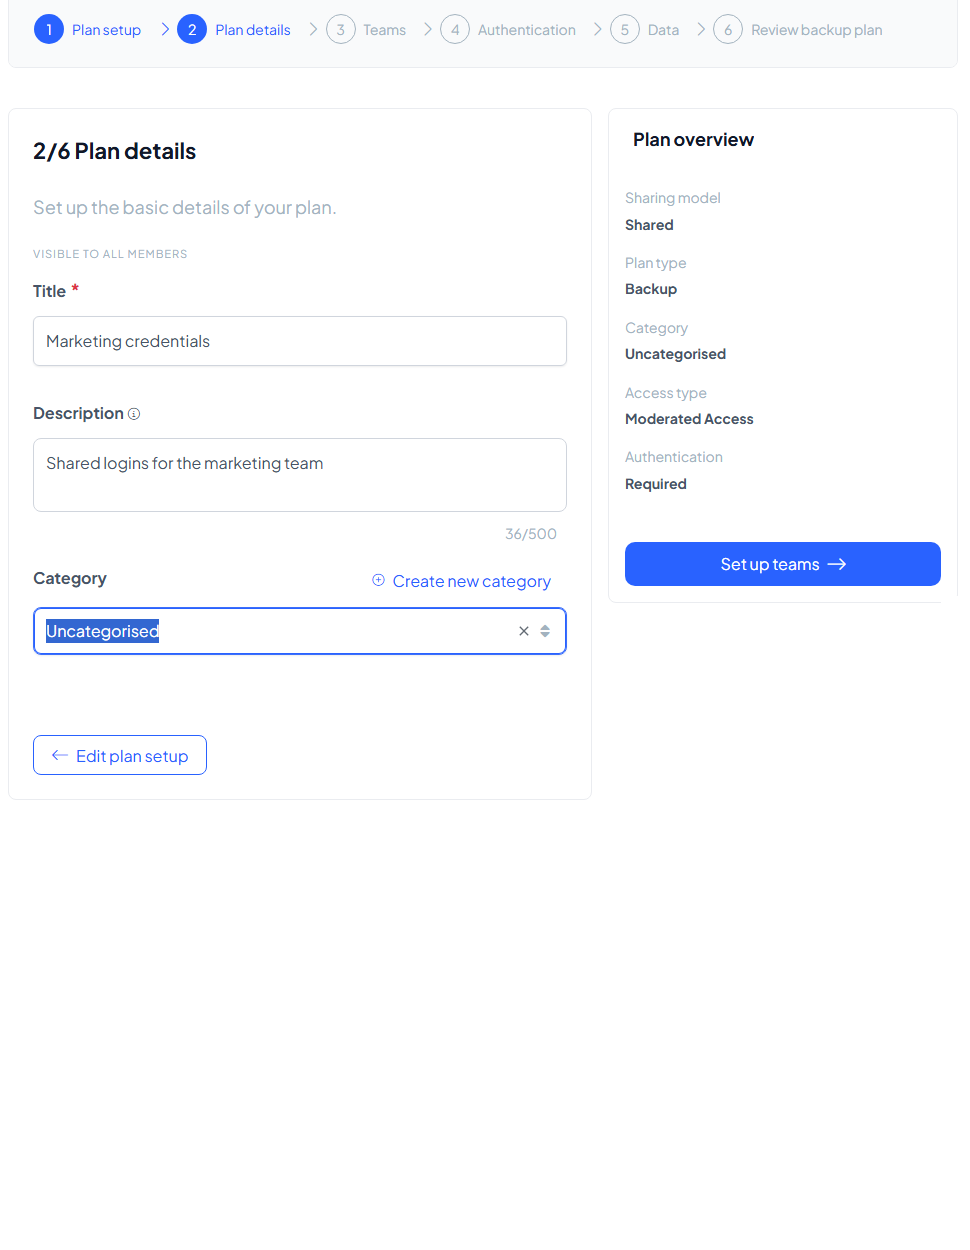
Give the plan a title your organisation recognises and a short description. Assign a category to keep the plan overview organised, pick an existing one or create a new category right here. Categories explains how they work.
Step 3: teams
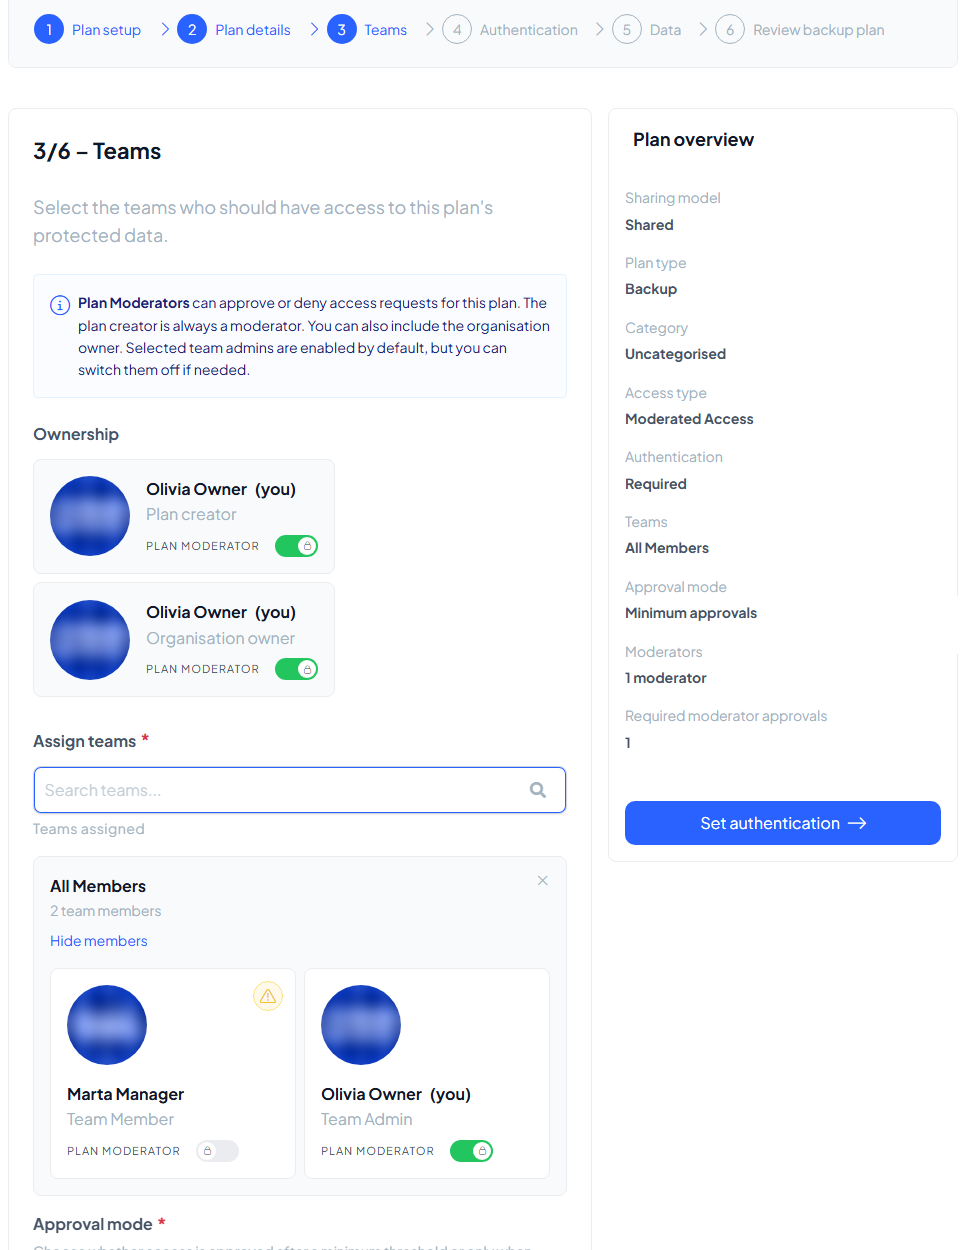
Assign the teams whose members may reach this plan. Access follows the teams, so joiners and leavers are handled automatically.
The Ownership panel shows who can moderate requests: you as plan creator and, as the organisation owner, the Owner are plan moderators by default, and each assigned team lists its members with a Plan moderator switch. Team admins are switched on by default; you can switch them off or promote regular team members. Then choose the approval mode: access after a minimum number of moderator approvals, or only when every moderator approves.
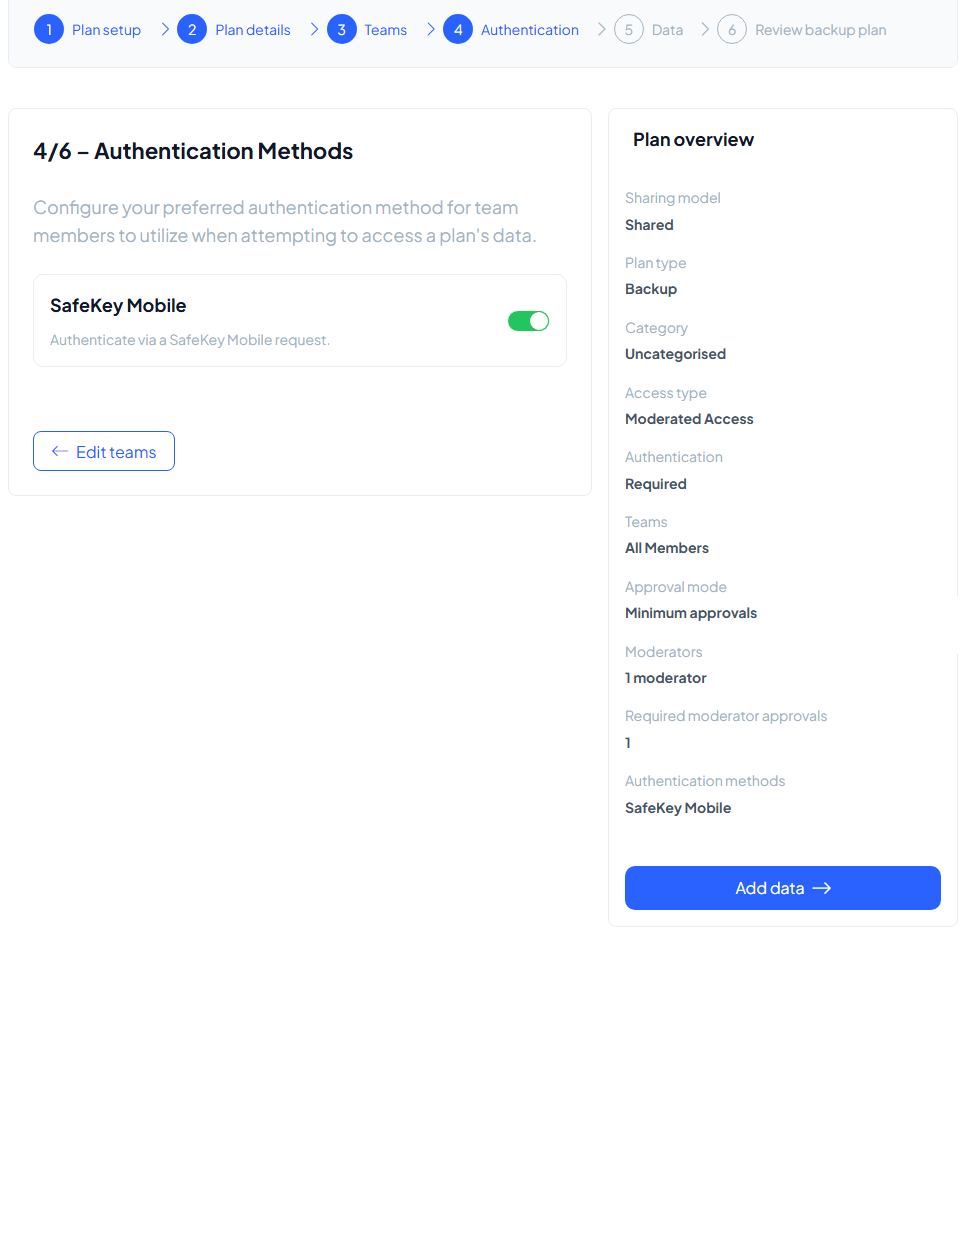
Step 4: authentication
Choose how members verify their access requests:
- SafeKey Mobile: approve the request in the app on your phone. Switched on by default.
- Link via Email: confirm by clicking an emailed link. Only offered when your organisation has enabled it under Settings → Authentication.
Other methods (OTP via email, SafeKey 2FA, itsme®) are not available yet.
Step 5: data
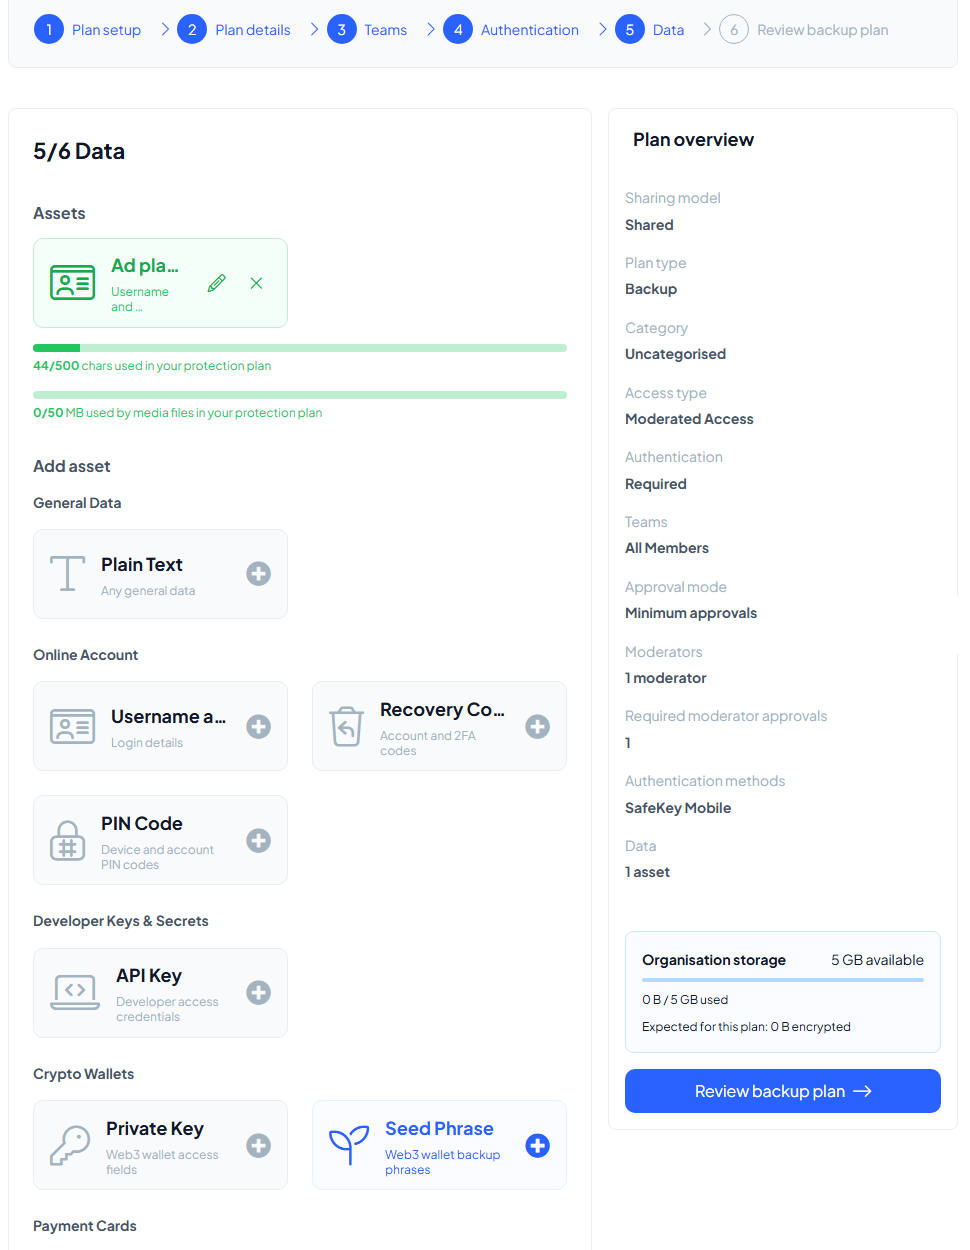
Add the assets the plan will protect. Anything sensitive fits:
- General data: plain text notes and secrets
- Online accounts: usernames and passwords, recovery codes, PIN codes
- Developer keys and secrets: API keys and access credentials
- Crypto wallets: private keys and seed phrases
- Payment cards: credit and debit cards
- Files: documents, images and video
The wizard shows how much of the plan's capacity your assets use.
Integration settings (optional)
When you add an online account, API key, PIN code, payment card or file, you can switch on Add integration settings. They are "optional metadata that helps integrations identify and suggest this asset", so do not enter secrets here.
- Integration code: a stable name that tools such as the CLI and MCP use to find this asset, for example
inheriti plans download <plan-id> --asset <code>. It is filled in for you, and you can change it: letters, numbers, hyphens and underscores only, up to 64 characters. - Matching website origins: one website per line, such as
https://example.com(no path). Guard uses it to suggest this asset on matching pages. It grants no access and does not limit who can reveal the asset.
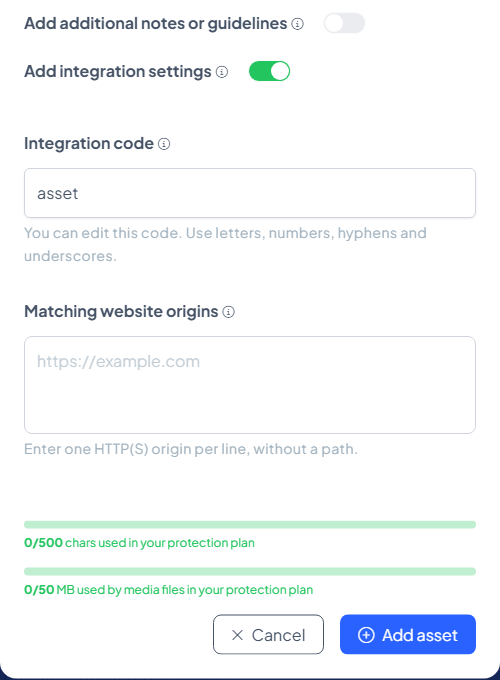
At the bottom of the window two bars show how much of the plan's limits you use: 500 characters of text and 50 MB of media files per plan.
Step 6: review
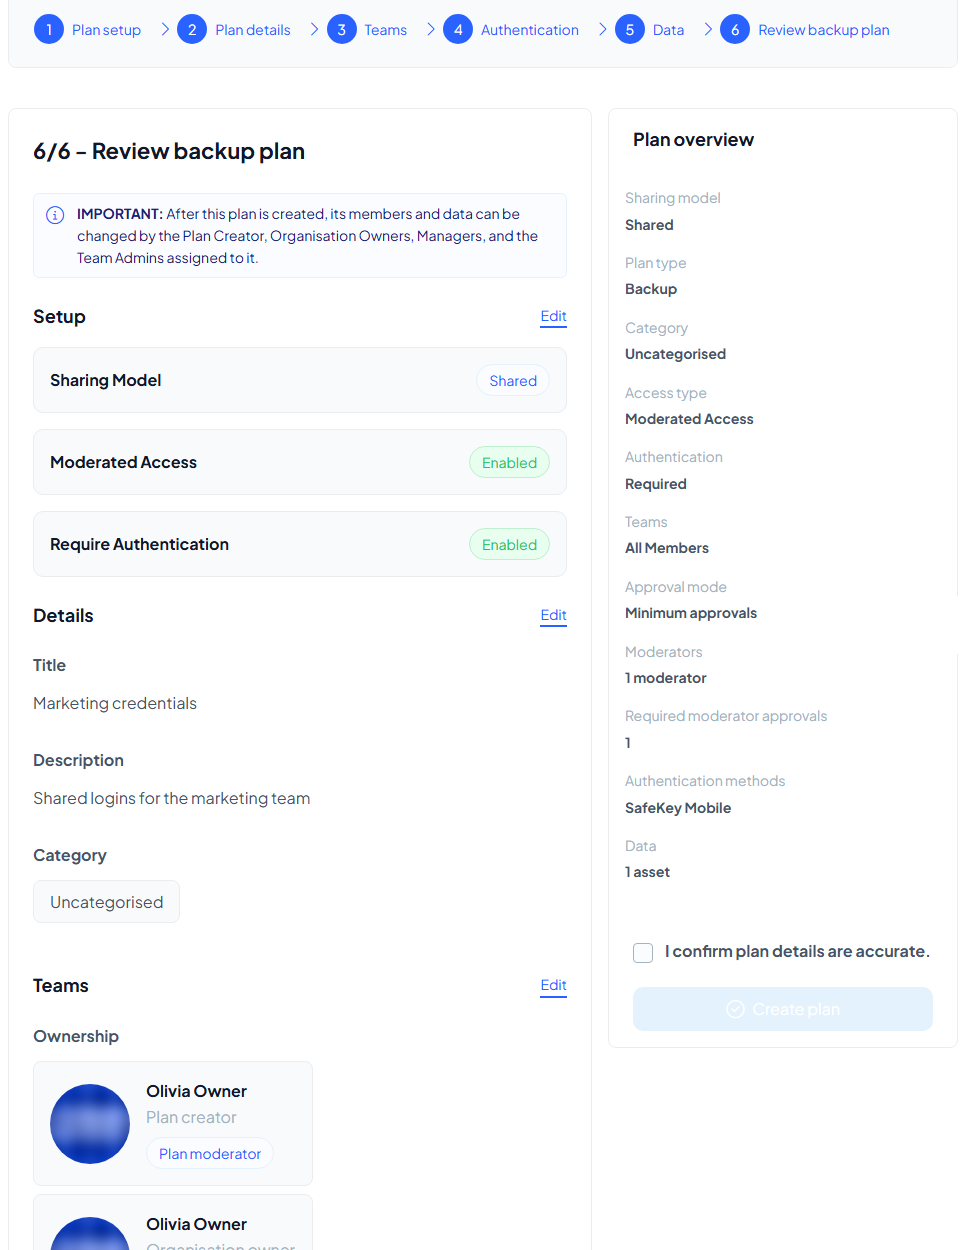
Everything you configured, on one page, with an Edit link per section. Read the notice at the top carefully: after creation, the plan's members and data can be changed by the plan creator, Organisation Owners, Managers and the Team Admins assigned to it. Tick I confirm plan details are accurate and select Create plan.
While the plan is created
First, the plan needs your Organisation Key. A Release the Organisation Key dialog sends a request to SafeKey Mobile; confirm it there. Without your phone, choose Enter Recovery Key instead and type the Organisation Recovery Key. If you stop here, the plan is kept as a draft in your overview; open it and choose Continue setup to finish.
Then the real work happens, entirely in your browser: the data is encrypted, split into shares and distributed across your storage layers. A progress screen (Org Key, Governance, Split & Encrypt, Storage) walks through it, and the success screen says The protection plan is ready, with the plan's status Protected.
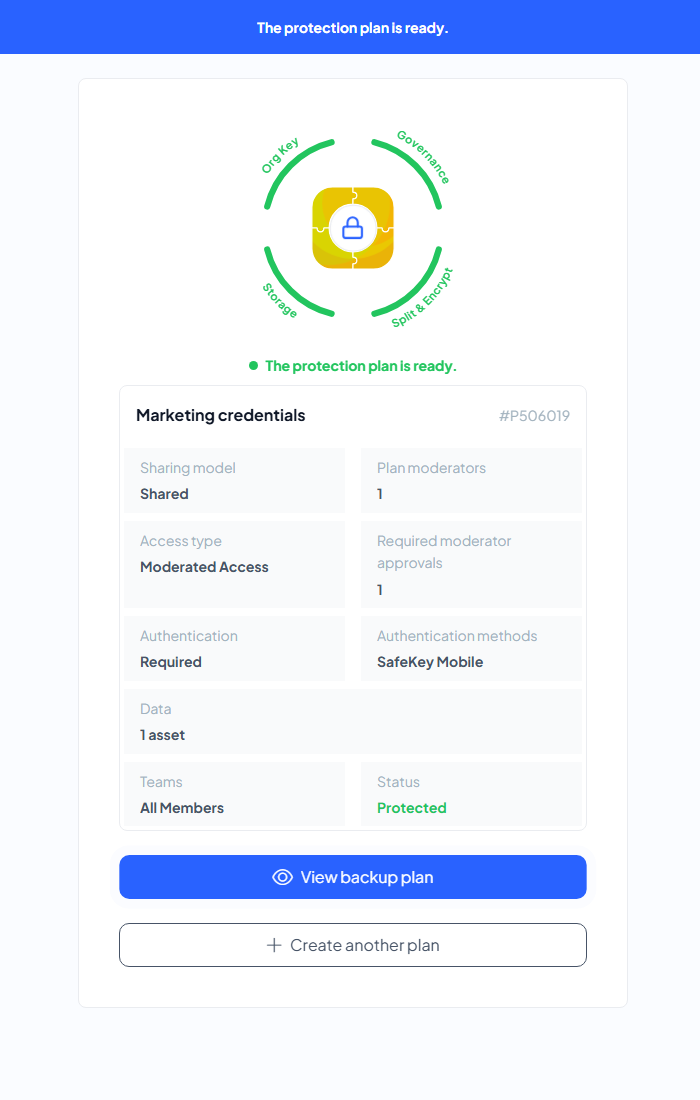
From that moment the plan appears in your Data Backup overview, and members of the assigned teams can request access.